Your first showing happens online. If your Hoover home doesn’t shine in photos, you miss out on clicks, showings, and offers. You want to make a strong first impression without wasting time or money. This guide gives you a Hoover-specific, step-by-step plan to prep for photos and showings so buyers feel confident from the first thumbnail to the last room. Let’s dive in.
Why photos and showings matter in Hoover
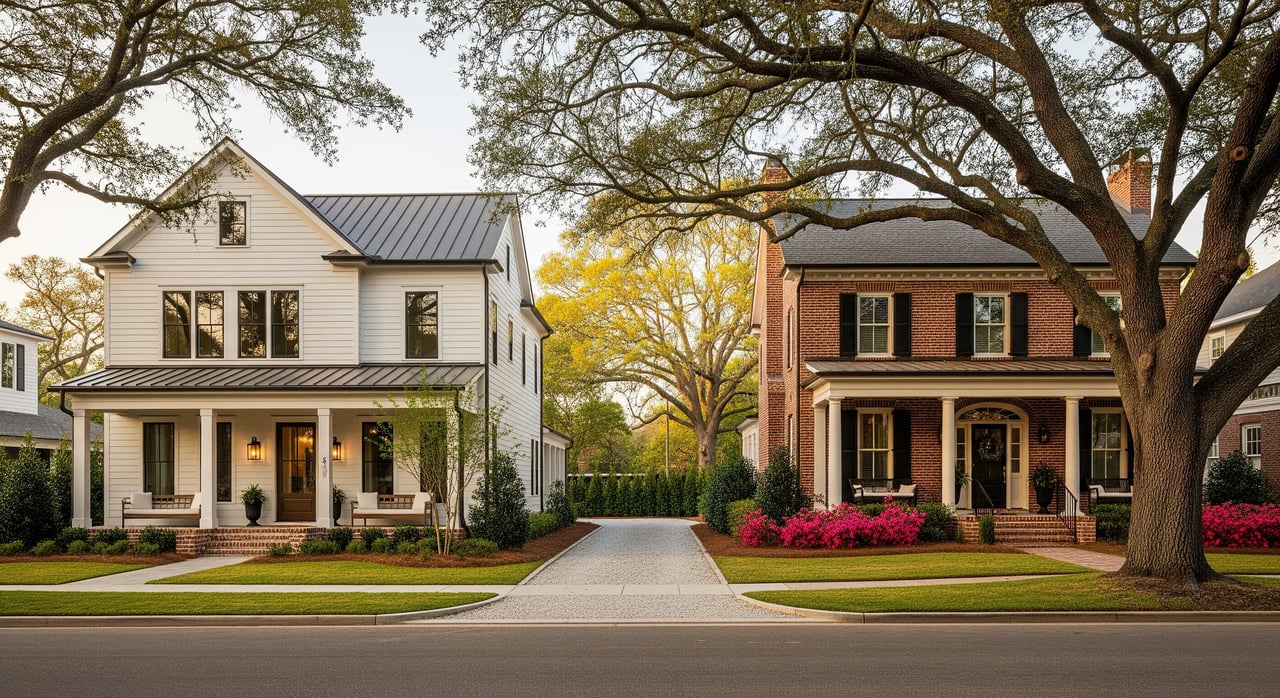
Great photos create momentum, more showings, and stronger offers. They help buyers see how well your home is cared for and how it lives day-to-day. In our suburban Birmingham market, buyers often focus on curb appeal, bright interiors, and usable outdoor spaces.
Professional, photo-ready listings are a common expectation. Guidance from the National Association of Realtors supports what we see locally: clean, well-lit rooms and accurate, appealing images lead to better results.
Boost curb appeal fast
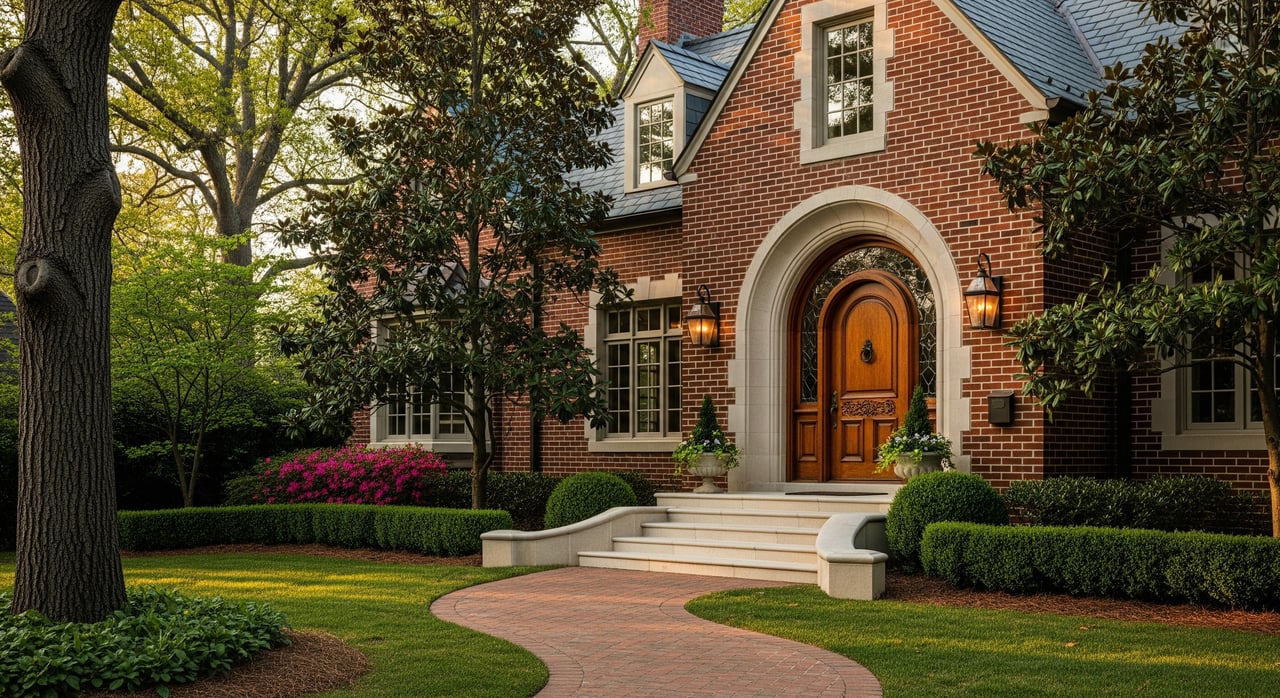
A buyer forms an opinion before stepping inside. Aim for a fresh, tidy, and welcoming front.
- Freshen mulch, edge beds, and pull weeds. Patch bare lawn spots if you have time.
- Trim shrubs away from windows and walkways to open sight lines to the front door.
- Power-wash siding, porch, driveway, and walkways to clear pollen and grime.
- Clean gutters and downspouts. Visible debris reads as deferred maintenance in photos.
- Update the entry: clean or paint the front door, polish or replace hardware, and add a new doormat.
- Stage with two simple, symmetrical potted plants. In summer heat or drought, use durable planters that look good even if turf is stressed.
For planting choices and seasonal care in Central Alabama, explore resources from the Alabama Cooperative Extension System. If you plan any visible exterior repairs, confirm local needs on the City of Hoover’s official site.
Declutter and depersonalize
You want buyers to imagine their life here, not yours. Start with the rooms that sell a home.
- Prioritize the living room, kitchen, primary bedroom, and main bath.
- Remove personal photos, hobby displays, political or religious items.
- Edit furniture to improve flow; remove one or two pieces in tight rooms.
- Clear kitchen and bath counters to the essentials. One tasteful accent per surface is plenty.
- Reduce closet contents to about half so storage feels generous.
- Hide cables, small rugs that chop up floors, and any trash or recycling bins.
Deep clean and odor control
A spotless home photographs brighter and feels more spacious in person.
- Deep clean kitchen appliances inside and out. Wipe cabinets, fixtures, baseboards, and windows.
- Scrub bathrooms, paying attention to grout and caulk lines.
- Steam-clean carpets and mop or polish hard floors.
- Eliminate odor sources instead of covering them. Air out rooms before showings.
- Pet prep: remove beds and toys, clean litter boxes, and plan to have pets off-site during showings.
For general staging and cleaning ideas, you can reference consumer tips from HGTV’s home-prep resources.
Repairs and paint that pay off
Small fixes make a big impact in photos and during walkthroughs.
- Fix leaks, dripping faucets, and running toilets. Address loose handrails or broken tiles.
- Replace missing or cracked outlet covers and any faulty switches.
- Touch up paint, or repaint bold rooms in a neutral color.
- Replace burnt-out bulbs and make sure color temperatures are consistent from room to room.
If you’re unsure whether a bigger project is worth it, discuss return on effort with your agent before you start.
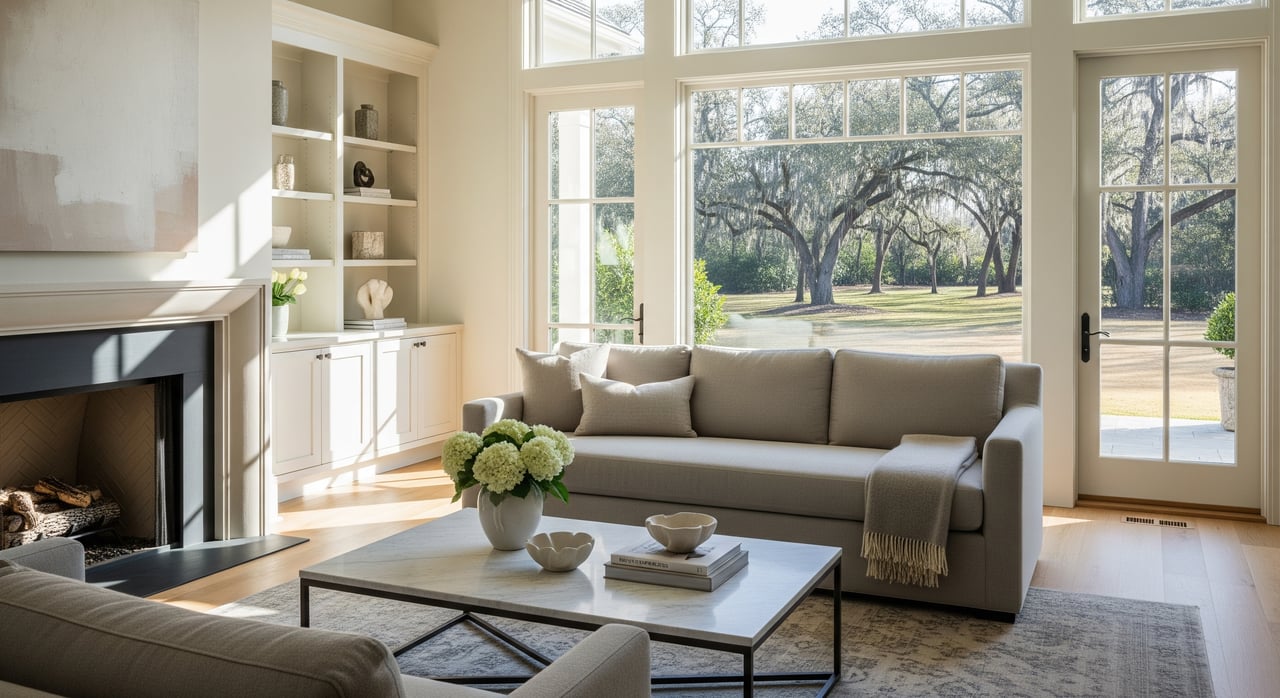
Light for photos buyers love
Good lighting makes rooms feel larger, cleaner, and more welcoming.
- Schedule your shoot for a bright day; slightly overcast works well for interior light.
- Plan exteriors for early morning or late afternoon when the light is warm and flattering.
- Open all window coverings. Remove screens only if it’s safe and easy.
- Use daylight-balanced bulbs around 5000K in main rooms to avoid color mismatch.
- Turn on all interior lights during photos and showings.
- Clear windowsills and counters to reduce shadows and reflections.
Before your photographer arrives, create a brief with must-have shots: front exterior, backyard, main living areas, kitchen, primary suite and bath, other bedrooms, garage, and notable features like a fireplace, built-ins, or outdoor living.
Set up smooth, safe showings
The best showings feel easy and secure for everyone.
- Create a natural route: entry, living, kitchen, primary suite, secondary bedrooms, then outdoor spaces and garage.
- Stage one clear focal point per room, like a coffee table vignette or an accent chair.
- Set the thermostat to a comfortable temperature and leave all lights on.
- Park cars in the garage or on the street to keep the driveway clear.
- Store medications, jewelry, firearms, passports, and financial papers off-site or in a locked safe.
- Confirm lockbox access and showing windows with your agent. Ensure pets are off-site or contained with a note.
Your one-week prep plan
Working toward professional photos? Here’s a practical seven-day schedule you can follow.
Day -7: Plan and hire
- Meet with your agent to set the photo date and listing timeline.
- Line up vendors: photographer, cleaner, handyman, landscaper, and stager if needed.
- Gather simple staging items like neutral pillows and a couple of potted plants.
Day -6: Declutter and donate
- Tackle closets, pantry, and garage. Remove 30–50% from the primary closet.
- Pack personal photos and sensitive documents.
- Clear kitchen and bathroom counters.
Day -5: Repairs and touch-ups
- Fix drips, squeaks, loose knobs, and cracked outlet covers.
- Touch up paint; repaint high-visibility rooms in a neutral tone if needed.
Day -4: Deep clean and carpets
- Schedule a thorough cleaning of kitchen, baths, baseboards, windows, and blinds.
- Steam-clean carpets and refresh upholstery.
- Tidy the garage and sweep the driveway.
Day -3: Landscaping and exterior
- Fresh mulch, edged beds, trimmed shrubs, mowed lawn.
- Power-wash siding, walks, and driveway; clean gutters.
- Refresh front door hardware; add two simple planters and a new doormat.
Day -2: Staging and lighting
- Remove excess furniture to open pathways.
- Install daylight-balanced bulbs in main rooms.
- Remove small rugs that interrupt sight lines.
Day -1: Final polish and photography
- Confirm the photographer time; try for golden hour for exteriors.
- Turn on all lights, open blinds, set the thermostat, and hide bins and pet items.
- Plan to be off-site during photos and initial showings.
Day 0: Listing live
- Keep beds made, dishes put away, and surfaces tidy.
- Refresh simple staging touches like a small bouquet or folded towels.
Line up the right help in Hoover
Hiring the right pros can save you time and protect your budget.
- Vendors to consider: real estate photographer, professional stager, handyman or contractor, house cleaner, landscaper, carpet/upholstery cleaner, HVAC tech, painter, and locksmith.
- What to check: portfolio or sample work, insurance and business license, written scope and timeline, references or local reviews, and clear cancellation policies.
If you plan exterior work or visible changes, confirm any permit or business license requirements on the City of Hoover’s municipal site. For plant choices suited to our region, consult the USDA Plant Hardiness Zone Map and the Alabama Cooperative Extension.
Time your photo shoot around Hoover’s seasons
Hoover’s humid subtropical climate brings lush spring growth, summer heat, and a vibrant fall. Spring and fall often deliver the best curb appeal, but watch for pollen buildup on hard surfaces in spring. Overcast days can soften interior light, and late afternoon delivers warm, flattering exteriors.
When in doubt, discuss timing with your agent and photographer. Pair the right day with solid prep, and your photos will do the heavy lifting online.
Ready to list? We’ll handle the details
You deserve a smooth, well-planned sale. If you want a clear plan, vetted local vendors, and professional marketing that showcases your home at its best, reach out to Chris Hicks. Request your free home valuation, and let’s get your Hoover home ready for the market with care and confidence.
FAQs
What should I prioritize when prepping a Hoover home for listing photos?
- Focus on curb appeal, decluttering key rooms, deep cleaning, and consistent lighting. Small repairs and neutral paint also deliver strong photo impact.
When is the best time to shoot exterior photos in Hoover, AL?
- Early morning or late afternoon often produce warm, flattering light for exteriors. For interiors, a bright but slightly overcast day helps avoid harsh shadows.
Which repairs should I complete before showings start?
- Fix anything related to function and safety first, like leaks, electrical issues, or loose handrails. Then tackle cosmetic wins such as paint touch-ups, grout, and hardware.
Do I need to stage every room to sell?
- No. Prioritize the living room, kitchen, primary bedroom, and main bath. Keep secondary bedrooms tidy and simple with minimal staging.
How do HOA rules affect my prep and showings in Hoover?
- Review your HOA guidelines for signage, landscaping changes, and showing hours. If you plan exterior work, check the City of Hoover for permit information.